Last time we talked about the new series that I’m starting – cooking skills we should master cooking at home. When we’ve mastered these basic skills, it’ll make our general cooking much easier, more effective, and tastier. Last time was the introduction, and I went through all the things we’re going to cover, though not necessarily in that order.
Today, we’re going to talk about heat control. I think that’s one of the most valuable things to learn, especially when you’re cooking on the stove top. We’ll learn what the differences are between things like a gentle simmer versus a rolling boil. What’s medium heat, and when do you use it? What’s high heat and when do you use it?
Later, we’ll talk about the difference between sauteing and searing in a pan.
So, let’s talk about heat control. A lot of common mistakes in cooking are heat mistakes. If your food is too dark or burnt on the outside and it’s raw on the inside, then the heat was too high during cooking. Slowly mastering heat control on your stove top is a huge upgrade to your cooking – learning how to do it with different proteins, learning what works best when you’re sauteing vegetables, and et cetera.
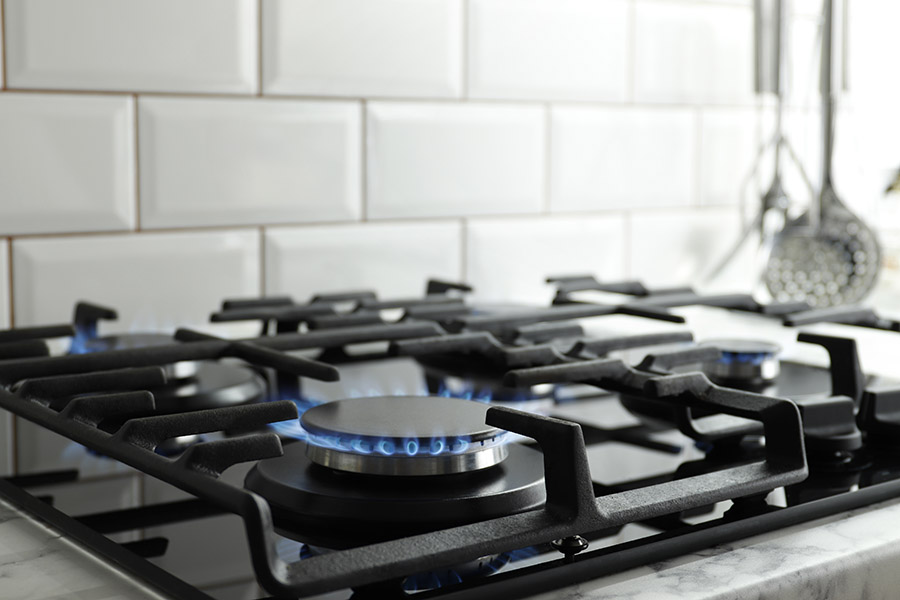
As far as heat levels go, you get different stoves. There are gas stoves and electric stoves. Usually there’ll be a general idea of what’s low, what’s medium, and what’s high on them. Get to know your stove. Perhaps if it’s an electric stove, it’ll go red when it’s on high. Medium will not be quite red, and you won’t see that red ring on low. Find out ways to know how hot it is, and then make sure you’re familiar with your dials for when you’re turning them on and wanting to heat things at low, medium, or high.
Think in terms of what the heat does to the food, not the number on the dial. Low heat is gentle heat, and you’re going to use it for things like simmering sauces so that they thicken. Maybe you’re simmering a soup that’s got a protein in it – you don’t want to cook it with too high heat because then it gets dry and tough. You can use low for cooking your eggs softly, melting your butter or your coconut oil, maybe even keeping food warm, or warming it up in a pan with a lid on. Low heat is not often used, but it is for those things.
Visually, low heat will make very small bubbles for liquids – not the medium-sized bubbles that appear when you start to have a bit more action going on. There’ll be no aggressive sizzling. The food warms slowly, and cooks slowly and evenly. You need to be patient if something needs low heat, because sometimes we want to turn it on higher because nothing seems to be happening, but we just need to wait. The pan also needs to heat up, and once it’s hot, there’ll be a more consistent heat going into the food. It does take a while at the beginning, but we don’t want it to get too high, as then we’ll have a problem with the food.
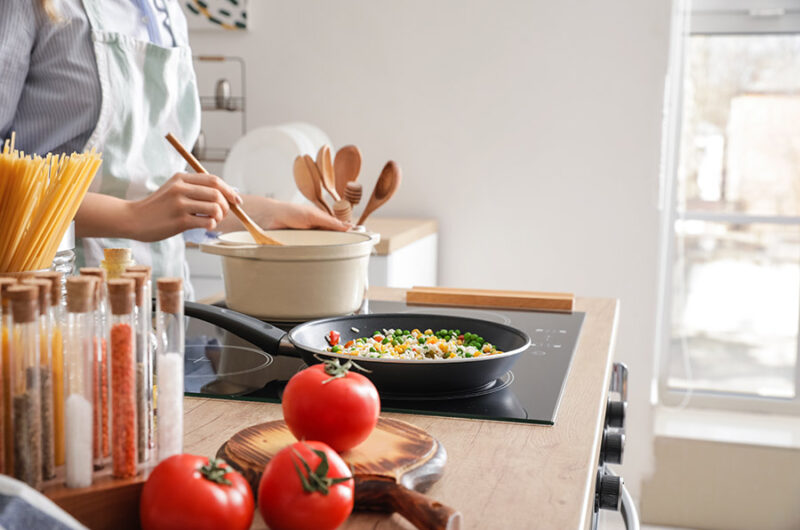
Medium heat is for controlled cooking – sauteing vegetables, cooking pancakes, and cooking chicken breasts or other chicken pieces in a pan. Most everyday cooking uses medium heat. You’ll hear a steady sizzle after you’ve added your oil and then your vegetables. There’ll be a light browning or caramelization over a few minutes, and maybe a gentle bubbling if it’s a liquid. Medium’s going to be your default setting.
 Th
Th
en high heat is fast, intense heat. You won’t use this as often. When you do, it’ll be for things like boiling water, searing meat, and maybe stir frying meat and vegetables. This will have a loud, aggressive sizzle, faster browning, faster caramelization, and rapid bubbling. You can easily burn food on high, so you have to really watch it. It burns quickly if you don’t move it. You also need to know what to do when it’s almost at the point where you have to stop it cooking before it burns. Are you going to add a liquid and deglaze? Are you going to take it off the heat and move it to the side, or put it in a different dish? If you’re using high heat, you need to be ready to quickly move it or quickly do whatever it is to cool it down.
Preheating your pan is always a good thing to know how to do properly. Usually you need to heat the pan for a couple of minutes before adding the food or the oil. Sometimes you can add the oil at the beginning if you are nervous that it’s suddenly going to smoke when you add it. Coconut oil does often smoke a little bit, so you should add it early and then watch it. You want to put the food in before it starts to smoke. Usually, though, with other fats, you just heat the pan and then add them – a little olive oil or whatever you need, and then you add your food.
If the pan is too cold, the food will stick and it won’t get a nice sear. That’ll detract from its cooking. If it’s too hot, it’ll burn instantly or smoke a lot and smoke out your kitchen. Oil will be shimmery when it’s ready for you to add your food, not smoking. If you are using a dry pan, then add a drop or two of water to see how hot it is. It should dance about and evaporate quickly, not sit there. Then you know your pan’s hot enough.
So, practice this with different pans – they react differently. If you have a stainless steel pan or a cast iron pan, that’s going to get hotter and stay hotter than a non-stick pan with coating. We like to use a diamond glazed pan because it’s a lot healthier than other non-stick pans. Try this with different pans – turn them on, add a little water, and see what happens. Add a little oil, and see at what point it starts to shimmer – and hopefully not which point it starts to smoke. Practice using your pans today, or this week sometime and see which pans are ready at what point, and how the oil looks. Then, when you add a little piece of food, like zucchini or something, you immediately see it start to gently fry when there’s oil.
Generally, in a pan, we don’t want to boil foods because that makes them less flavorful, and the whole idea of pan cooking is to get more flavor. If you add something that’s got liquid in it, or liquid starts to come out of something, it’s best to drain the pan. Just lift it up and use a spatula or an egg lifter to hold the food while you gently drain the liquid into a bowl – just in case you need to add it back. You want to drain that liquid and get it back to frying. You don’t want to have so much liquid, especially watery liquid, that it boils the food instead of frying it. You should hear that nice sizzling sound whether you are working with medium heat or high heat – obviously it’ll be more intense on high heat.
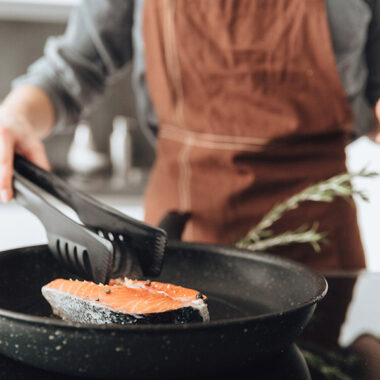
So, let’s talk briefly about how heat transfers to food. When there’s a pan touching the food, the heat starts by making that sear in most stove top cooking, or sometimes it sautees it, and then it slowly and gradually moves towards the center of the food. If you’ve got a big piece of steak on high heat, then you’re searing it. The heat starts on the outside, making a nice caramelized crust on the steak, and then it slowly moves towards the center of the meat. Depending on how much you want it cooked, you heat it for a certain length of time or to a certain temperature.
When you’re cooking steak, by the way, until you get used to how it feels, it’s helpful to use a meat thermometer. Just stick it into the steak. When we cook beef fillet in the oven, then we always put thermometers in two parts of the meat, and cook it to a certain temperature – about medium. Then we let it rest for as long as it’s cooked before we do the final check to see if it’s cooked enough. It’s going to keep on cooking when you take it out of the oven or off the stove.
So, heat transfers by the pan touching the food, and secondly, by the liquid moving around the food, like when you’re boiling or simmering something. There can also be direct heat, like radiation in a microwave. We’re generally going to be working with a pan touching the food or with liquid moving around the food. If we have something in the oven like baked potatoes or chicken kebabs, that’s also direct heat on the food, without it touching something like the pan.
We need to know what kind of heat to cook each thing on. As I said, we’re going to cook steaks at high heat. Chicken breasts can start at high heat, and then be turned down, and some liquid added to them to simmer. We have to control the heat as we go. If we’re cooking meat, we’re always going to start with high heat to sear it and make it golden on the outside, and then we’re going to adjust the temperature.
There are various ways to adjust the temperature or control the heat. An obvious one is turning down the plate or the burner. This does take longer to cool down, though, because the pan holds a lot of the heat, especially if you’re using cast iron, so bear that in mind. If your food gets too hot, especially on a stove plate that takes a while to cool down, you can lift the pan briefly off the burner. If it’s a gas one, it just goes off and it’s not going to retain the heat as much, so it’s unlikely you’ll need to lift it. You may need to lift it or move it off the hot plate if it’s an electric stove.
Another way to cool the food would be to add a little liquid. You don’t want to add too much, especially not water, because that can make the food boil, or it can get in the way of the browning process. Add a splash of water or stock, or perhaps a little coconut oil or butter. That can cool the pan. If you’re cooking something like Hollandaise sauce and it’s getting too hot, then you would take it off the heat, which in this case would be steaming water, and put it back if you need. So, you can move the pan, or you can add liquid.
Also, use the right pan to start with. Thin pans will heat up fast, but they’ll also burn fast, whereas thick, heavy pans like cast iron take a while to heat up, but then the heat’s more stable. That’s good for cooking steaks and things in.
Here are the biggest beginner mistakes that I’ve noticed, though I’m sure there are more. We all make them. Firstly, there’s cooking everything on high. We always think, “Okay, we have to cook it on high; it’s going to go well”, but you do need to adjust the heat. If you’re doing vegetables, it should be on medium heat. If it’s some liquid that’s boiling, you don’t want it to be bubbling violently like a rolling boil, except if you’re boiling eggs. You want to have it at a gentle boil; simmering with little bubbles around the edge, on a medium heat. Just be aware that, again, with your meat, you can start it off at a high heat, get a good sear, and then turn it down. Then you can add your butter and herbs or garlic to the pan, and then you baste the meat with the butter to help keep it cooking, but at a slightly lower heat than you started with.
Not letting food brown is another mistake. This happens when you cook it on a heat that’s too low, and then you think it must be ready so you turn it or take it out. It’s really important, especially with meat, to start off with that lovely caramelization; that sear; that brown edge. You should start it off higher and then check that it’s cooked. After that, sometimes you’ll put it into the oven to finish cooking. Sometimes you’ll add liquid, like a gravy type liquid to the steak to finish cooking. Sometimes you’ll baste it with butter, and et cetera, but your food must start with browning. It also seals in the flavor and the juice so that it’s more tender, more flavorful, and just generally yummier.
Another mistake is overcrowding the pan. Especially if you’re cooking for a family, it’s hard not to put too much in because families eat a lot. Perhaps you can use two pans if you have a lot to cook, or cook half of it at a time. This goes for if you’re browning meat to go in the instant pot, if you’re browning meat to cook in the pan, or you’re just cooking some chicken. During the part where you’re searing it, the meat should not be crowded. Afterwards, you can add your sauce and vegetables, and that’s fine, but at the beginning, make sure not to overcrowd the pan so that your food steams instead of sears. Food needs space when it’s being seared.
Here are just a couple of specific examples when it comes to heat. Eggs should be cooked on low to medium – medium should be the absolute highest. It really ruins the eggs if you cook them on high heat. Chicken breasts should be on medium heat – high heat will burn the outside before the inside cooks. Chicken breasts take a while to cook, so you can sear them gently on the outside while they cook through. It sometimes works well to slice the chicken breast in half before you use it so that it’s not such a thick piece to cook. This goes for whether it’s on the grill or on the stove top. With chicken, it’s even better to marinate it first with some oil like olive oil, and some salt before you cook it. That tenderizes it nicely.
Steak needs a high heat to sear it at first, and then you can reduce it to medium to finish. You can also put it in the oven, or you add some liquid, as I mentioned, like a sauce that’ll become a gravy. Garlic needs a very low heat, as it burns very fast, and it turns bitter when it burns. When you’re making a base for a soup and you’ve got some carrots and celery, cook those a bit first because they take longer to cook. After that, add your onion as it takes a little less time than the carrot. Then right at the last minute, turn off the stove, add the garlic, and stir it around. Usually the residual heat will be enough to cook the garlic without burning it.
It’s a good thing to train your senses. If you hear a loud crackling, the pan is very hot. If you hear a gentle sizzle, it’s a controlled medium heat. If you smell a kind of nutty smell, especially with butter, that’s browning. If it smells sharp or bitter, then it’s burning. If you see dark brown, that’s good. Black is bad. A gentle caramelization on things is good, but then it can quickly turn to burning, so be ready to cool it or to turn it off before it gets to that point.
Then also, keep your pan squarely on the plate. Sometimes it slips to the side, and then it’s half on the heat, and half of your food gets cooked well, but the other not so much. Keep it squarely on there.
Then I wanted to mention deglazing. Usually you deglaze a pan after you’ve removed the protein. The reason for it is to get the flavor into your sauce or gravy, whatever you’re going to cook next in the pan. It generally involves adding a liquid. Maybe you cooked onions and vegetables, and then you took them out and cooked your meat. Then you take that out, and you’ve got all that nice stuff left on the bottom of the pan. Then you want to add a bit of wine, stock, or broth to the bottom of the pan and use that liquid to deglaze the pan – to kind of scrape off all the extra bits of caramelized food.
You can include those bits in the sauce. Then you’ll take that sauce and either put it into the crockpot with your meat, your roast lamb or whatever it is, or you’ll put it into your gravy. Whatever sauce you happen to be making, deglazing helps you to get all that goodness and yumminess into the sauce. It’s really very easy. You don’t even have to have a measured amount of liquid – just cover the bottom of the pan, and then add more if you need. The pan should be off the heat, and then you slowly scrape it and add the liquid to whatever you need it in.
So, to recap, it’s important to remember to preheat your pan. If you’re cooking meat, you’re going to start high. If it’s vegetables or some kind of liquid, you’re going to start medium to medium high. Then you’re going to lower it to medium to cook it through, and then lower it again to finish it off gently. You’ll be constantly adjusting the heat.
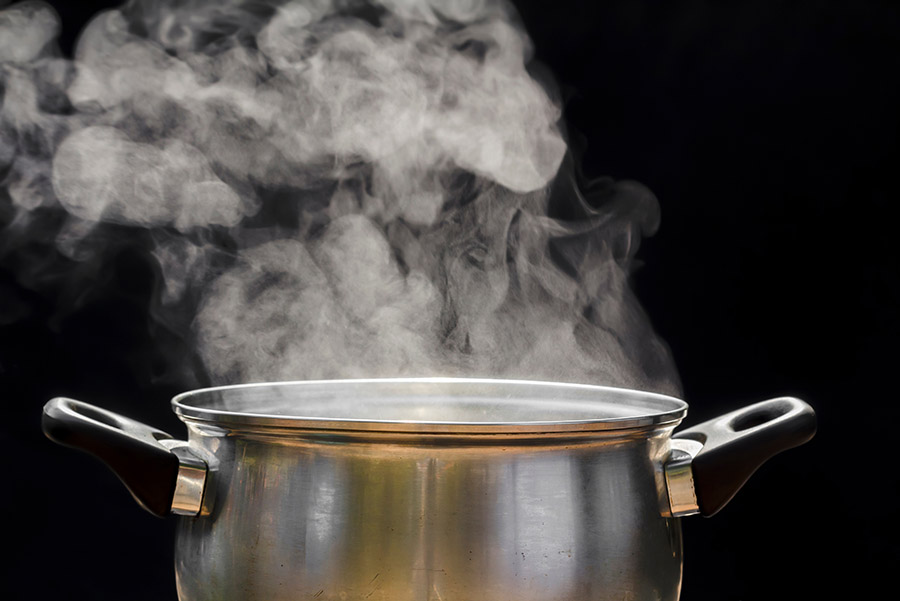
Then lastly, for heat control, let’s talk in a bit more detail about simmering versus boiling. If there are big, aggressive bubbles, that means it’s boiling. That would be at 100 degrees Celsius, and over 200 degrees Fahrenheit. That can make meat tough if you’re cooking it in there. If it’s a soup that you’re busy cooking, boiling is not good – simmering is good. That involves small, gentle bubbles and a lower temperature. It’s ideal for soups, sauces, and stews on the stove top. If you’re making something delicate like risotto or sauce and curry, simmering is going to give you a much better texture. So, remember, if you have liquid involved and you’re cooking meat on the stove, a high boil is going to make dry, tough meat. A gentle boiler will cook it correctly.
Then there’s sauteing versus searing meat. With sauteing, you’re cooking the food quickly, in a small amount of fat, over a medium to maybe medium high heat, and you’re usually while moving it around so that no particular part of the food gets too hot. This is for small or thin pieces of food. The pan’s going to be hot, but not smoking. The food is stirred, flipped, or tossed during the cooking process, and it cooks through while lightly browning or caramelizing.
For example, you can saute onions or garlic, sliced mushrooms, or small pieces of chicken or shrimp. You cook it through and develop a moderate browning. Here’s a note about sauteing – I find that it often helps if you put a lid on the pan halfway through. If you’re cooking mushrooms, then first start to brown them with a bit of coconut oil or butter, and some seasoning like salt and maybe a bit of nutmeg or onion powder. It’s the same with zucchini – maybe you’re doing zucchini slices. You start cooking them in the same way, but you don’t want them to get too brown. What really helps is putting a lid over them – that’ll make them steam while they saute.
The steam is going to help them cook faster, and to make sure they cook through by the time the outside is a good color. If you don’t do that, I often find that they get too brown before they cook through. When you’re sauteing vegetables, it’s often a good idea to put the lid on for half the cooking time. Also, keep checking them. Leave them for a good five minutes with the lid on at a low heat, but then to finish them off, take the lid off again. You should definitely keep an eye on them because if the heat’s too high, they’ll burn. We’re not boiling the vegetables with a lot of liquid; we’re simply steaming them a little bit while they’re sauteing.
Searing uses high heat, and it’s cooking the surface of the food to create that deep brown crust. It uses very high heat, but it’s not quite at the smoking point. This is for larger pieces like steaks, chops, or filets. You should brown meat like a leg of lamb before you put it in the slow cooker, and your food is left mostly undisturbed. You’d do one side of the steak to get a good caramelization, and then turn it over. It requires a short cooking time per side. That’s the beginning of the cooking process – you sear the steak, and then you’ll finish it in the oven after basting it with butter.
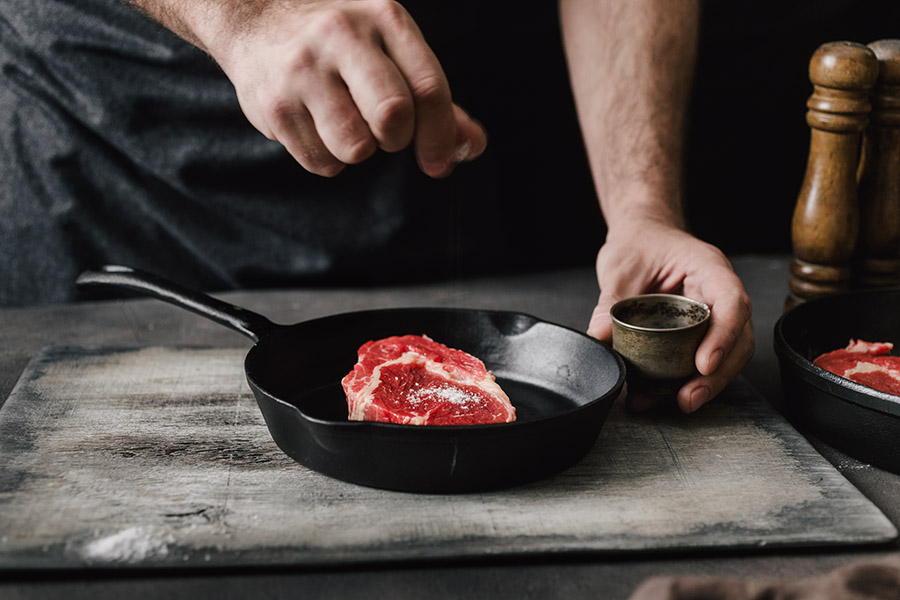
You can also sear scallops, but as I said, it’s usually for browning a roast. You don’t need to do this with chicken, but it’s delicious for beef or lamb. Just put it in a pan and brown the sides after seasoning them – always season first with salt and pepper. Brown all the sides, then put it in the slow cooker, and then add your other herbs so that they don’t burn during the searing process. This gives you a good flavorful crust, and it helps seal in the moisture, adding lots of flavor.
Also, always remember to take your meat out of the fridge twenty minutes to half an hour before you’re going to cook it, to let it come to room temperature. It depends on the weather how long you need to leave it out there. Chicken’s more sensitive than lamb or beef, so don’t leave it out too long, but always let your meat come to room temperature before you cook it. It’ll make it more tender and juicier.
Then remember to let your meat rest, especially beef, for the length of time that you cooked it for. With lamb, you can turn off your crockpot half an hour before you eat it, and just let it rest.
Here’s a simple, practical exercise for this week. Take an onion and slice it up – you don’t have to chop it fine – and then cook half of it in a pan on a low to medium heat. See what happens and how it ends up. Then try to cook the other half in a different pan, or in a clean pan on high heat, and see what happens. See how long it takes to cook, and see what you think works best. Then remember how to do it for next time.
If you like, you can deglaze the pan a little bit after you cook the onion; deglaze it with a little bit of stock or some water, just a tiny bit. Scrape it off and see how it ends up. It could be a nice little oniony sauce if you just add a tiny bit of stock. Experiment with that a little bit.
Next time we’ll talk more about some skills that are important as a cook, and how you can grow those, but I hope you can try some of the things we’ve talked about today, and improve your skill no matter what level you’re at. I’m always looking to do that.